Ionic3+Firebaseでタップゲーム(1)ビュー(html)の作成とAngularfire2の準備
前回、monaca+NCMBでオンラインランキング入りタップゲームのコードを写経してみた。
http://twosquirrel.mints.ne.jp/?p=24491
結構違うが、同じことを、Ionic3+Firebaseでできないか、ゆっくり試してみる。
<Ionic3+Firebaseでタップゲーム 目次>
(1)ビュー(html)の作成とAngularfire2の準備
(2)タップゲームをHomePageに実装(Ionic3でjQueryを利用)
(3)rankingの作成
(4)Windows8.1でBitbucketに非公開リポジトリをアップロード(2018年6月時点、OpenSSH使用)
(5)Ionic3WebアプリをPWA(ProgressiveWebApps)化
ソースコード:https://github.com/adash333/ionic3_firebase_renda
(開発環境)
Windows 8.1 Pro
VisualStudioCode
git version 2.16.1.windows.4
Sourcetree Version 2.4.8.0
Android Studio 3.0.1
Node v8.11.2
npm 6.1.0
@ionic/cli-utils 1.19.2
Ionic (Ionic CLI) 3.20.0
firebase@4.8.0
angularfire2@5.0.0-rc.4
promise-polyfill@8.0.0
npm install --save firebase@4.8.0
npm install --save angularfire2@5.0.0-rc.4
npm install --save promise-polyfill
C:/ionic3/ フォルダ下に、tapGame/ というIonic3アプリを作成する。
(0)今回行うこと
下記のサイトのmonaca+NCMBのコードを書き換えて、Ionic3+Firebaseで実装してみたい!そうすれば、Androidアプリだけでなく、WEBアプリも簡単に作れる!
https://github.com/NIFCloud-mbaas/MonacaFirstApp
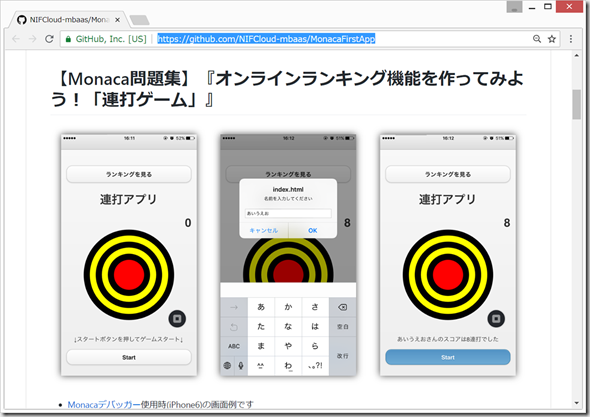
前提として、Node.jsとIonicCLI、AndroidStudioのインストール済みとします。Node.jsとIonicCLIのインストール方法につきましては、以下をご覧ください。
(1)Ionic3アプリの新規作成
C:/ionic3/ フォルダをVisualStudioCodeで開き、Ctrl+@でターミナル画面を出し、ターミナル画面(cmd.exe)に、以下のコマンドを入力します。
ionic start tapGame blank
何か聞かれたら、y + Enter のあと、N ; Enter
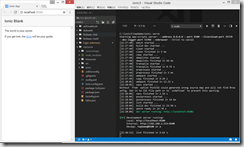
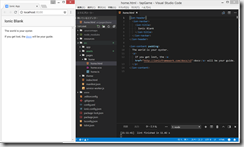
以下のコマンドを入力して、アプリを確認。
cd tapGame
ionic serve
Ctrl+C => y + Enter でサーバ停止。
VisualStudioCodeを一度閉じて、C:/ionic3/tapGame/ フォルダを、VisualStudioCodeで開く。
(2)的(まと)の画像の作成
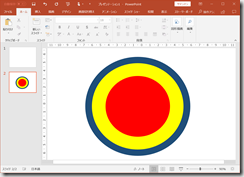
Powerpointで的の絵を作成し、target.jpg という名前でjpgで保存。
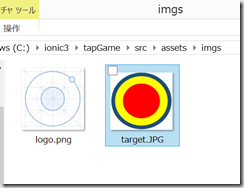
target.jpg を、C:/ionic3/tapGame/ の中の、src/assets/imgs/ フォルダにコピー。
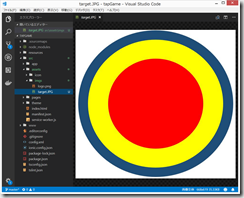
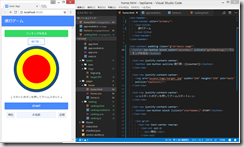
この状態で、VisualStudioCodeでC:/ionic3/tapGame/ を見ると、以下のようになっている。
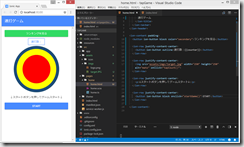
(3)ゲーム画面(home.html)の作成
src/pages/home/home.html
ソースコード
https://gist.github.com/adash333/93f36801f1d59fcc34c6392b5d65611c#file-home-html
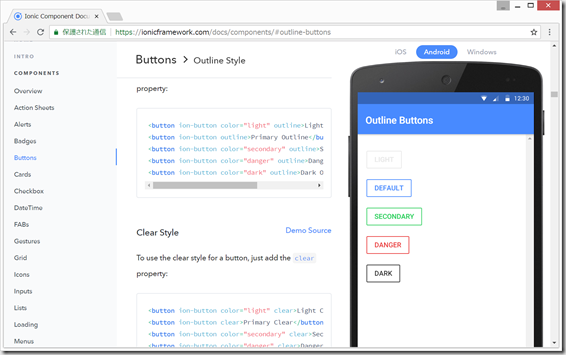
(参考)https://ionicframework.com/docs/components/#outline-buttons
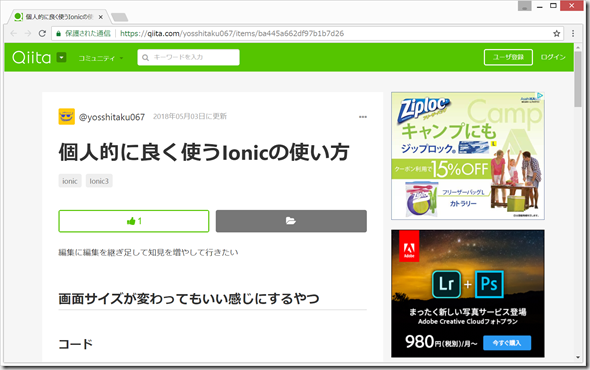
https://qiita.com/yosshitaku067/items/ba445a662df97b1b7d26
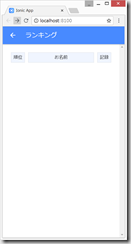
(4)ランキング画面(ranking.html)の作成
VisualStudioCodeのターミナル画面(cmd.exe)で、以下を入力
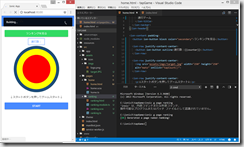
ionic g page ranking
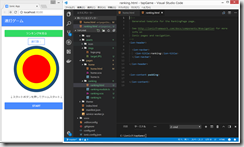
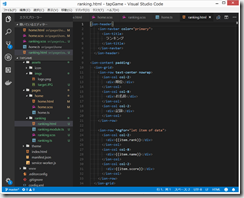
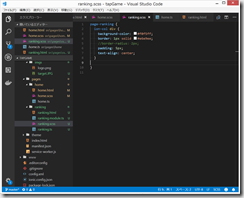
src/pages/ranking/ranking.html
(参考)https://ionicframework.com/docs/components/#grid
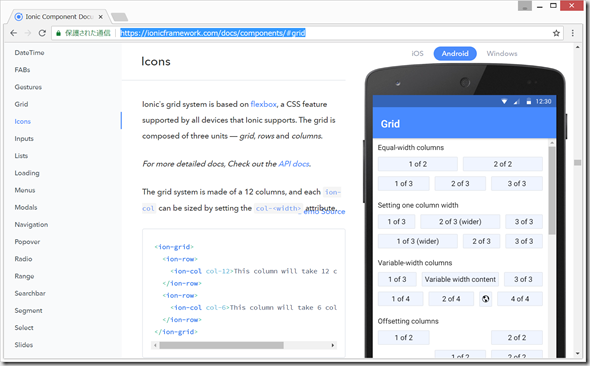
こちらのソースコードが非常に参考になる。
https://github.com/ionic-team/ionic-preview-app/tree/master/src/pages/grid/basic
https://stackoverflow.com/questions/26215355/creating-a-table-in-ionic
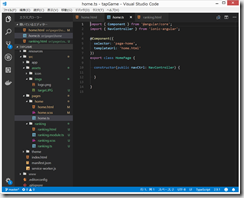
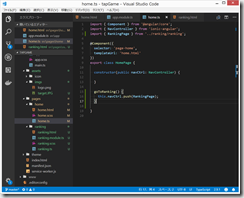
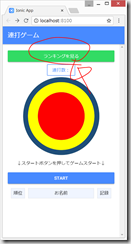
(5)HomePageからRankingPageへの移動のリンク作成
navController の、 push() を用いる。
home.html の訂正
<button ion-button block color="secondary" (click)="goToRanking()">ランキングを見る</button>
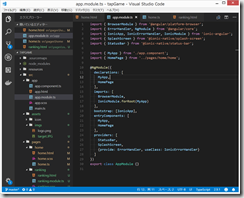
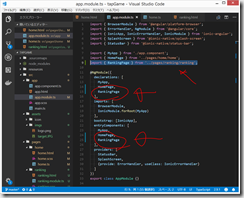
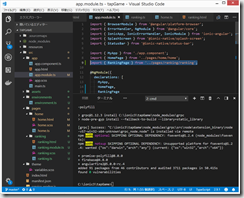
src/app/app.module.ts に、RankingPage をimport して、imports[] と、 entryComponents[] に追加。
実行してみる。
これだけで十分疲れた。。。
(6)firebaseの準備
VisualStudioCodeのターミナル画面(Ctrl+@ で出てきます)で、以下を入力。
npm install --save firebase@4.8.0
npm install --save angularfire2@5.0.0-rc.4
npm install --save promise-polyfill
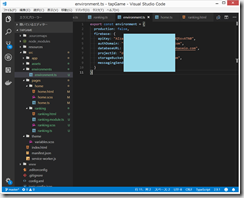
以下の書き込みの、「(6)AngularFire2を使うための準備」を参考に、firebase consoleにログインして、firebaseプロジェクトを作成し、src/environments/environment.ts (新規作成)にfirebaseのapi Keyをコピペ。
src/environments/environment.ts
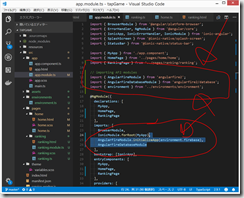
src/app/app.modul.ts の変更
https://gist.github.com/adash333/93f36801f1d59fcc34c6392b5d65611c#file-app-module-ts
とりあえずここまで。
次はhome.ts を編集して、
連打ゲームの実装
firebaseへの記録(AngularFireListのpushメソッドを使用して、新しい記録(name, score)を、Realtime Databaseに追加する。)
を行いたい。
元サイト:https://github.com/NIFCloud-mbaas/MonacaFirstApp
(参考)
http://twosquirrel.mints.ne.jp/?p=23821
http://twosquirrel.mints.ne.jp/?p=23919

ディスカッション
コメント一覧
まだ、コメントがありません