WindowsでExpress4(JavascriptのWEBフレームワーク)(3)
http://twosquirrel.mints.ne.jp/?p=8753
以前、Expressを触ってみたが、また、別のサイトにしたがって、やっていく。
今、以下の本をKindleで買って、やってみている。
http://libro.tuyano.com/index3?id=1147003
にしたがって、やってみる。
(環境)
Windows8.1
node.js v6.3.1
Visual Studio Code
C:/js/expressapp フォルダに作成
(1)ExpressのWebアプリケーションを作る
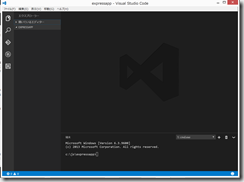
C:/js/expressapp フォルダ を作成。Visual Studio Codeで開く
Ctrl + @ で、端末(cmd.exe)の画面を出す。
npm init
よく分からないので、全部、Enter を連打すると、package.json ファイルが作成される。
(2)Expressのインストール
npm install express –save
npm install ejs
(3)Express利用の基本スクリプト
http://libro.tuyano.com/index3?id=1147003&page=4
の通りにやってみる。
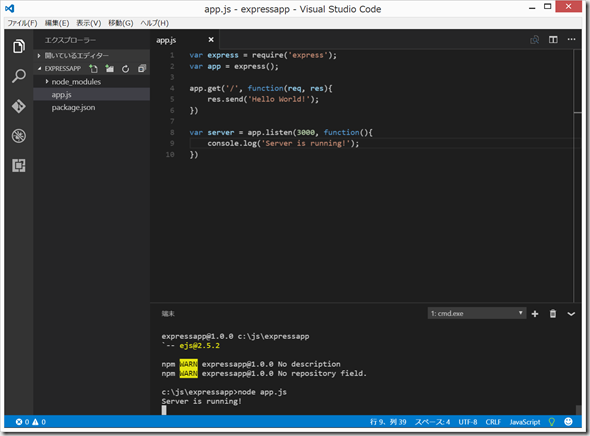
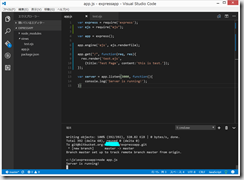
C:/js/expressapp/ フォルダ内に、app.js ファイルを作成し、上記サイトのスクリプトをコピペ。
node app.js
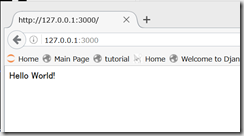
ブラウザで、 localhost:3000 を開く。
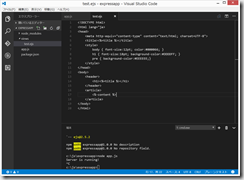
(4)C:/js/expressapp/ フォルダ内に、views フォルダを作成し、さらに、test.ejs を作成。
ここで、突然ですが、Bitbucketにソースコードをアップすることを考える。
git init
git add .
git commit -m “initialize repository”
あらかじめ、Bitbucketに登録しておき、
https://bitbucket.org/dashboard/overview
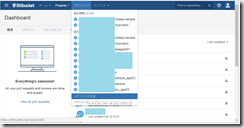
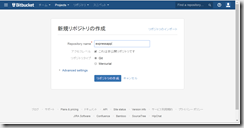
で、「リポジトリ」>「リポジトリの作成」
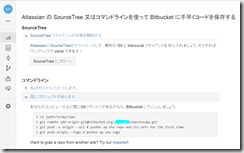
ここに記載してある、「既にプロジェクトがあります。」のところの記載の通りに、コマンドプロンプトに入力。
git remote add origin git@bitbucket.org:xxxxxxxxx/expressapp.git
git push -u origin –all
2回目以降は、
git add .
git commit -m “xxxxxxxxxxx”
git push -u origin –all
(5)app.js の変更
http://libro.tuyano.com/index3?id=1147003&page=7
のコピペをして保存してから、node app.js
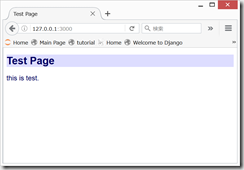
ブラウザで、127.0.0.1:3000
今日はここまで。次回は、
ExpressでWebアプリケーションを自動生成する
http://libro.tuyano.com/index3?id=1152003
をやってみたい。





ディスカッション
コメント一覧
まだ、コメントがありません